Installing the CONTENTdm Project Client
Updated: February 25, 2026
For questions about the installation procedures outlined below, please contact the CARLI Office.
System Requirements for the CONTENTdm Project Client
- Windows 10 (64-bit).
- Microsoft .NET Framework 4.8.
- 4 GB RAM is recommended. For sites processing a large volume of files and/or large files/images, 8 GB RAM is recommended.
- 4 GB of available hard-disk space for installation, plus additional space for Projects started in Project Client. A portion of this disk space will be freed after installation if the original download package is removed from the hard drive.
- Minimum display resolution of 1024 x 768.
Installing a New Copy of the Project Client
Step 1: Download the CONTENTdm Project Client
- Go to the OCLC CONTENTdm "Download the Project Client" webpage where you can download the executable file for the CONTENTdm 7 Project Client.
Note: Very few CARLI CONTENTdm users have the OCR Extension, and CARLI staff have already been in touch with your institution if you do use the OCR Extension. If you do not use the OCR Extension please disregard the section of the page on "OCR licenses." - Review the system requirements in the Overview section and the Terms and Conditions in section 1.
- Click the "I accept" box under the "Accept Terms and Conditions before downloading software" section (section 2). Once the box for "I accept" has been clicked, additional information will appear on your screen providing directions on how to download and install the Project Client.
- Download the CONTENTdm Project Client.msi file to your PC. Save the file to a location that you will be able to find easily. Note that this is a large file (886 MB) and may take several minutes to download depending on your network speed.
Step 2: Install the CONTENTdm 7 Project Client
- Navigate to where you saved the CONTENTdm Project Client.msi file and double-click on the file to launch the setup wizard. Once the wizard is launched, click "Next."

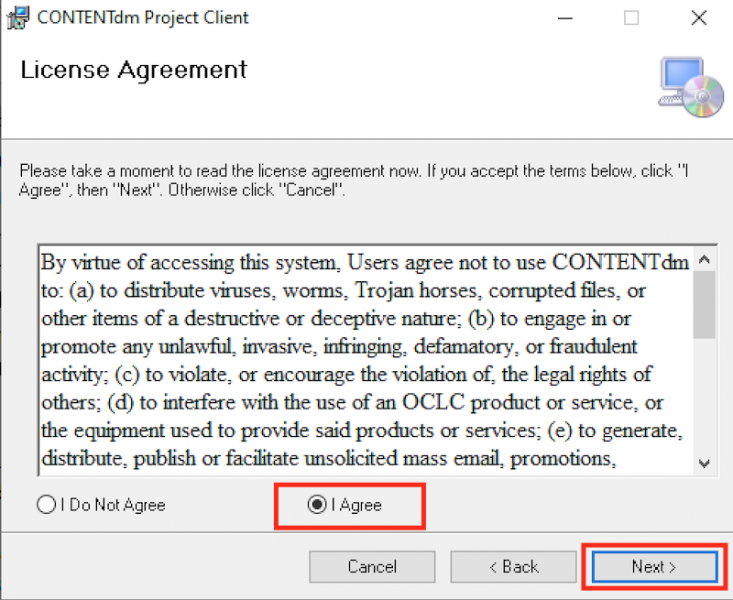
- Select "I Agree" to agree to the License Agreement and click "Next."
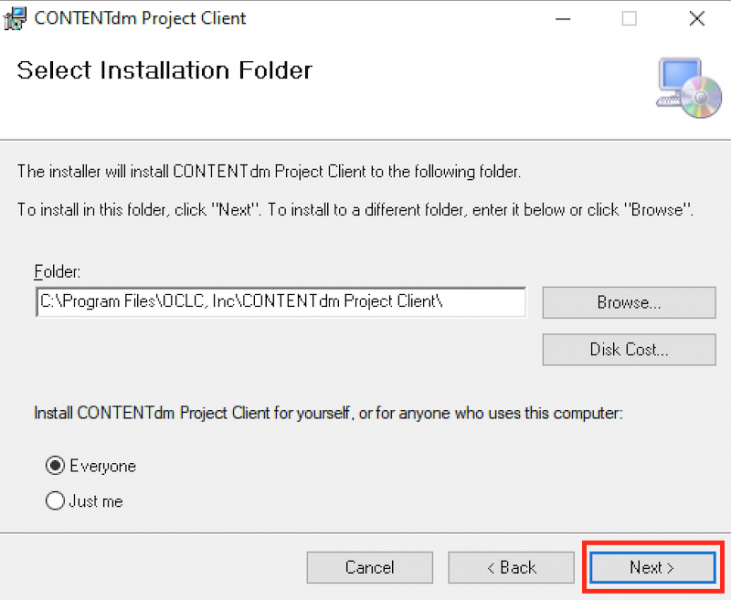
- Select where on the PC you would like to install the Project Client file. The default will be in the C:// drive. Also select if you would like the client to be accessible by all users that may log into the PC or only your user. Click "Next" once you have made your selection.
- Click "Next" on the Confirm Installation screen to start the installation process.
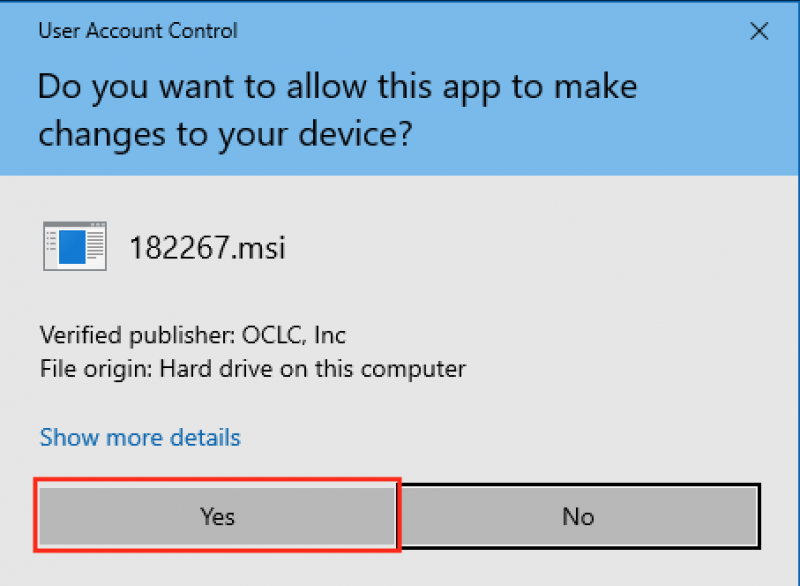
- The new Project Client will be start to install. You may need to click on "Yes" to allow the installer to run.
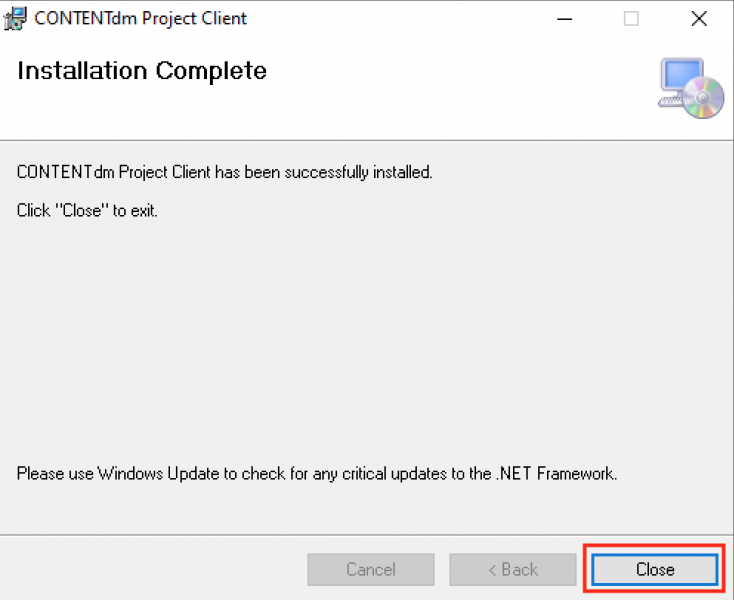
- The Project Client will continue to install. Once it has completed, you will see a screen confirming installation. Click "Close" to close the installer.
- When installation is complete, you will need to restart your PC before you can use the Project Client. You may do that now or later.
- Run the CONTENTdm Project Client from Windows Start menu or create a shortcut on your desktop and/or task bar.