Starting a New Project in the CONTENTdm Project Client
NOTE: For more information see the Online Help available in the Project Client (Project Client > Working with Projects > Creating a Project).
- If needed, have CARLI Staff establish a new Collection that the project will be associated with (See Getting Started with CONTENTdm in the CARLI Environment document for more information).
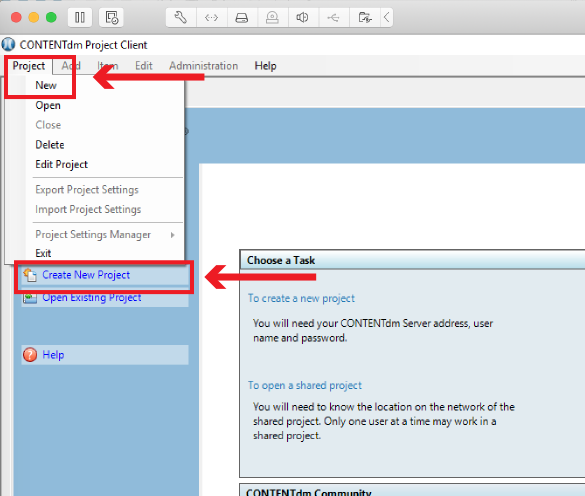
- Start the Project Client and Click "Create a Project" on the Home tab, or go to Project > New.
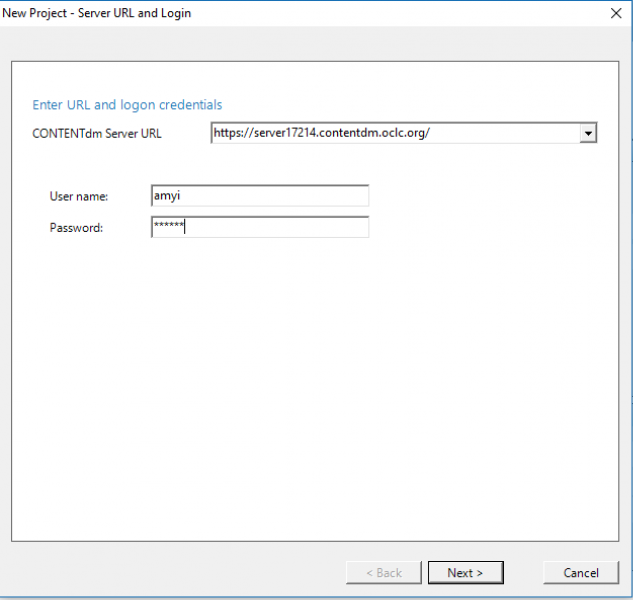
- Enter the server URL https://server17214.contentdm.oclc.org and your user name and password. For information on user name and passwords see the Getting Started with CONTENTdm in the CARLI Environment document. Click Next.
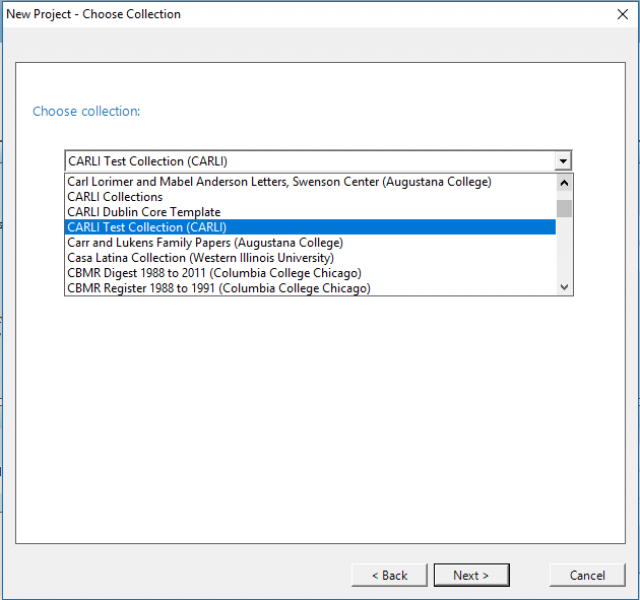
- Choose the collection you want this project associated with. Since ALL the collections in the CARLI server space appear in the collection list, MAKE SURE YOU CHOOSE THE CORRECT COLLECTION. Once a project is associated with a collection it cannot be changed. Note: the collection names appear in alphabetical order.
- Name the project. Project names should NOT include any periods, commas, colons, or semi-colons. Dashes and underscores are acceptable.
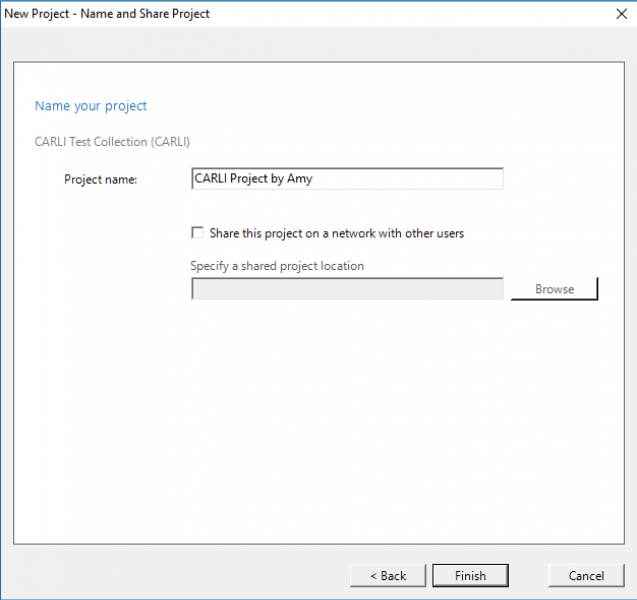
Optional: If you wish to share your project with others users on your network, you may choose to share the project on a shared network drive. Check the "Share this project on a network with other users" and browse to specific a location on your network where you would like to save the project.
Your project is now available for importing images and creating metadata.
CARLI office revised: 2/26/2026