
 I-Share
How-To: Normalization Rule for Importing Electronic Portfolios
Updated: September 11, 2026.
Overview
When catalogers use an import profile to add bibliographic records and portfolios to a collection, incoming records may be matched to existing records in the institution zone (IZ) or network zone (NZ). Portfolios should be created with the desired data from the incoming record, rather than from a URL in an existing record that might not contain local parameters. Including a normalization process in the import profile allows the cataloger to select desired fields into a dedicated location.
This document describes how to create a local normalization rule in the IZ using shared rules from the NZ, then add that rule to a re-usable normalization process that may be applied in import profiles.
Roles Required
Normalization rules may be created by a user with the Cataloger, Catalog Manager, and/or Catalog Administrator roles.
Normalization processes may be created by a user with the Catalog Administrator role.
Create Normalization Rule in Institution
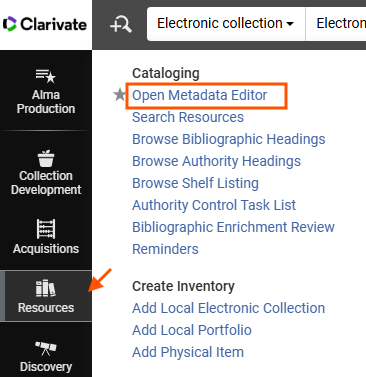
- Open the Metadata Editor: go to Resources > Cataloging > Open Metadata Editor, or select the Show MDE button from the menu bar.
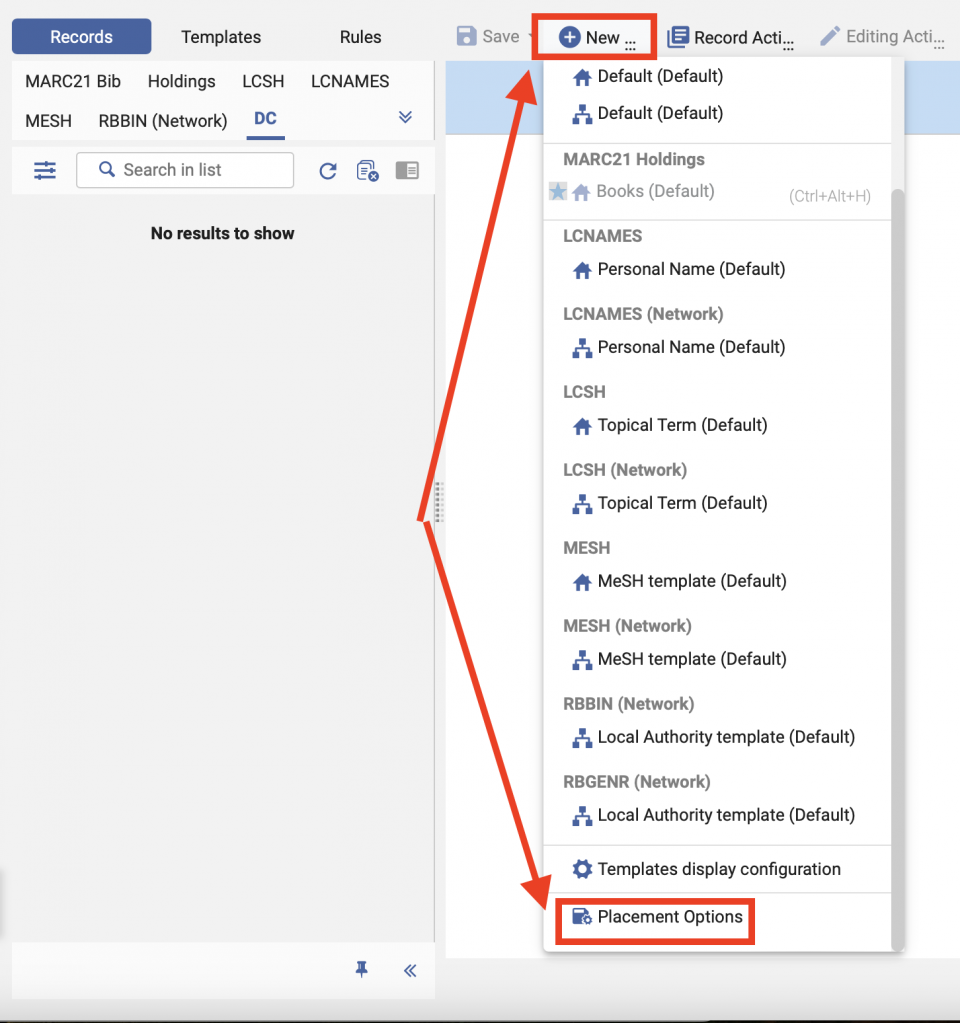
- Select the New menu, then select Placement Options (the bottom option on this menu).
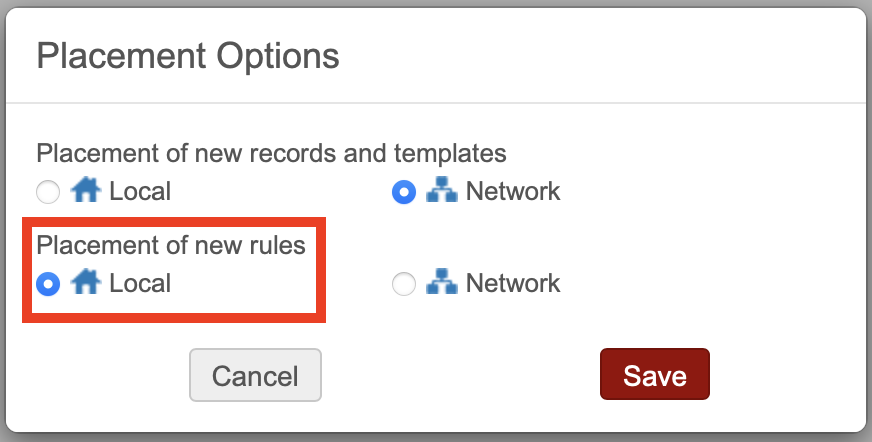
- For Placement of new rules, select Local. Click Save.
- Select the Rules tab above the navigation pane.
- Select the Normalization filter, then expand the Shared portion of the list.
- Select the Search in List box and type 956 for inventory.
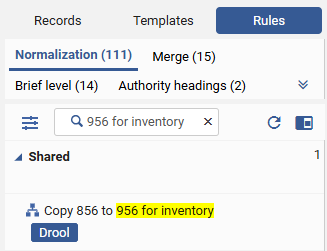
- Locate and select the normalization rule, Copy 856 to 956 for inventory. Clicking the rule will open the text in the editor, but the text will be view only.
- Select the Rule Actions menu then select Duplicate.
- Set the rule name to IZ Copy 856 to 956 for Inventory. Use the same name for the Description field.
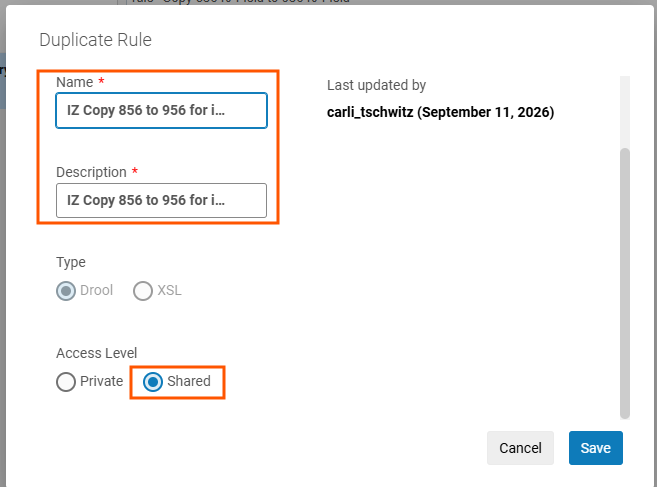
- Change Access Level to Shared, and click Save.
- The editor should refresh, with the duplicated rule open in the editor, and the list panel should show both the original NZ rule and the duplicated IZ rule. Notice the IZ icon to indicate which rule may be edited.
- Click Save.
Create Normalization Process
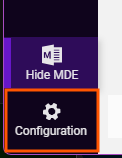
- Go to the Alma Configuration menu.
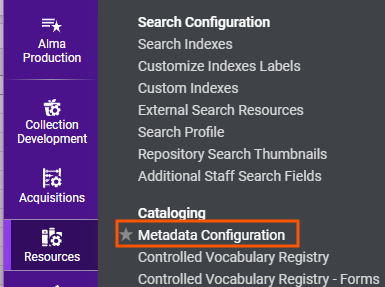
- Select Resources > Cataloging > Metadata Configuration.
- Select MARC21 Bibliographic.
- Select the Normalization Processes tab.
- Click Add Process.
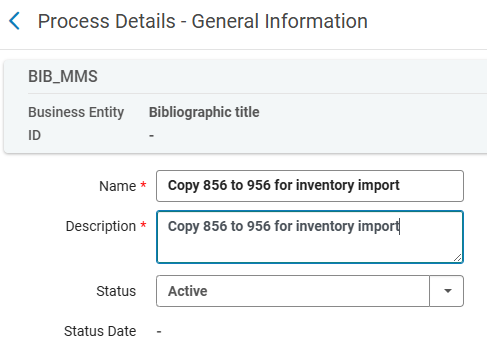
- Enter a process name, Copy 856 to 956 for inventory import. Use the same name for the Description field.
- Click Next.
- Click Add Tasks, then select MarcDroolNormalization, scroll to the bottom and click Add and Close.
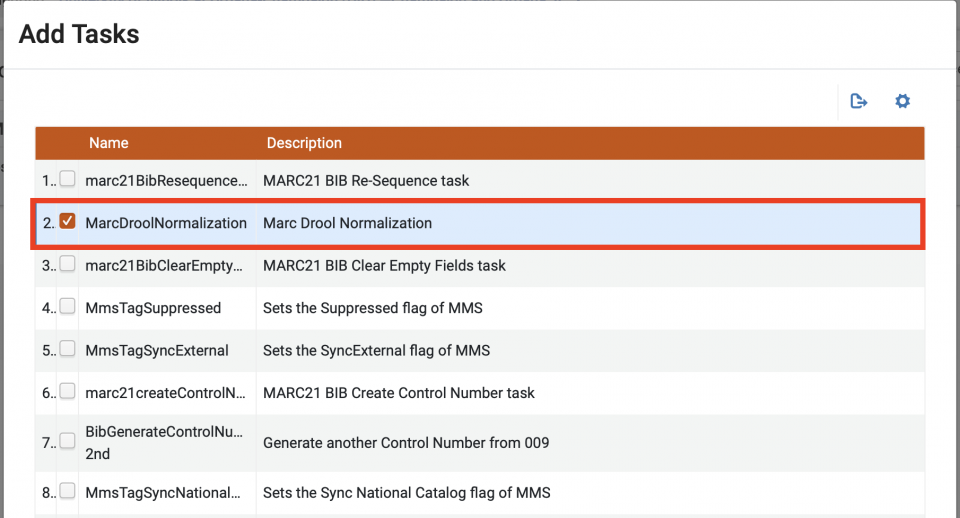
- Click Next.
- Select the Drools File Key, select the rule you created above, e.g., IZ 856 to 956 for Inventory.
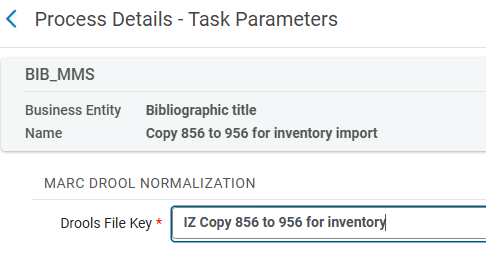
- Click Save. Note: If you have already created a process with an identical name, Alma will present an error message. Use the Back button to go to the first screen and modify the name, or Cancel to go to the list of processes.
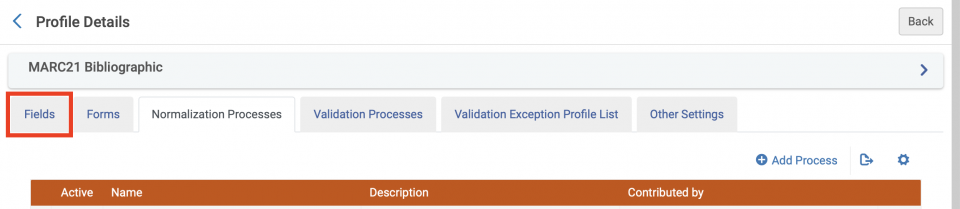
- Select the Fields tab.
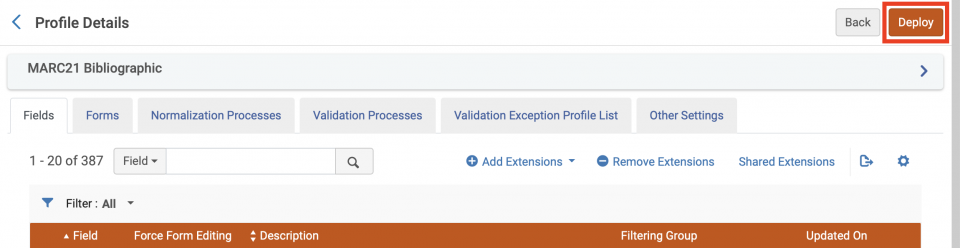
- Click Deploy.
- Return to the main Alma menu.
Add Normalization Process to Import Profiles
This type of rule is intended for use in import profiles to select the correct URL in a record for creating inventory. The rule will be added to the Normalization & Validation tab of a profile using the Change the data for PO line and inventory using field. This rule scans the imported records, copying the data from 856 to 956 before the record is matched to any NZ records, and creating the inventory from this copy.
This rule does not modify the record. However, since many local URLs are already saved in 956 fields, the bibliographic record may appear to have this data present. This is particularly true if the NZ normalization rule "856 to 956" is used with the Correct the data for matching and cataloging field.