Electronic Collections & Library's Customer and Location IDs
Last updated May 11, 2026.
Setting Customer ID or Location ID in Alma Electronic Collections
In Alma, e-collections from some vendors require that you input additional information specific to your institution, like Location ID or Customer ID, in the Full Text Service. For example:
- Gale products may require the Location ID
- ProQuest Ebook Central requires the Customer ID. (Please note, some libraries have different customer IDs for Ebook Central and for other ProQuest products.)
- Some EBSCOhost e-collections require the Customer ID and OPID; please see Alma, Primo VE, and the Dec. 2021 EBSCOhost Parser Changes for more information on EBSCOhost.
- List of e-collections requiring such IDs on "Managing Electronic Resources" see section "Library-Specific Parameters Table".
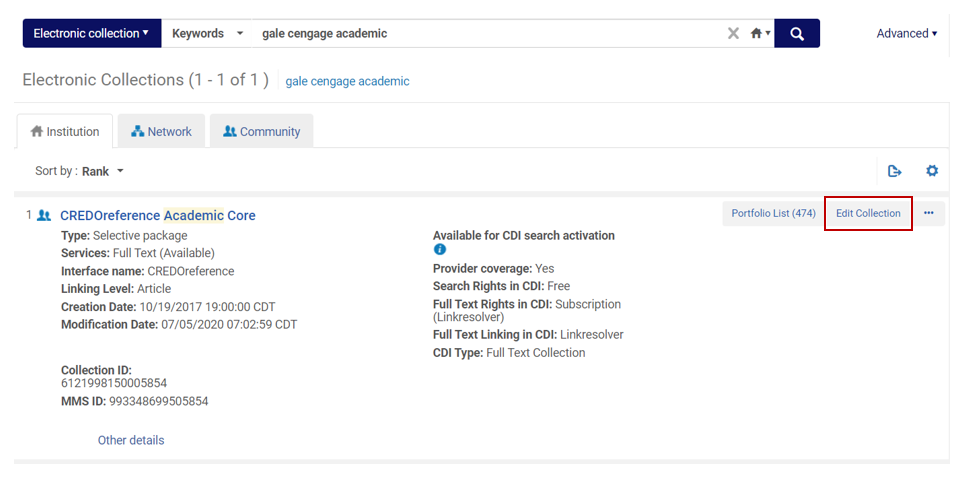
You will need to look up the Electronic Collection that requires additional ID information and input it into the Full Text Service.
1. Click on "Edit Collection"
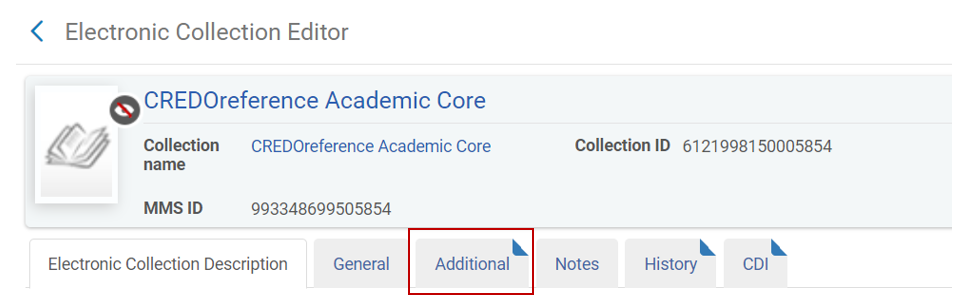
2. Click on “Additional” tab
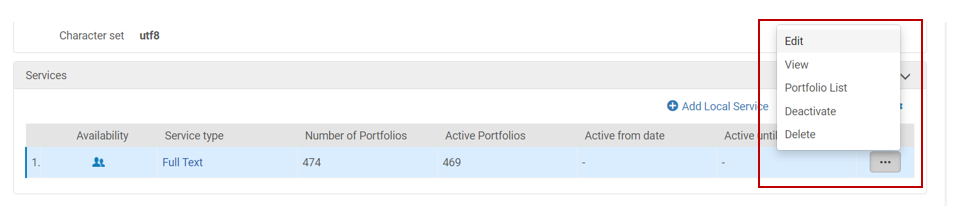
3. Scroll down to services. Click on the "More Actions"/ellipsis at the end of the row and click on Edit.
4. Click on the "Linking" Tab in the Electronic Service Editor
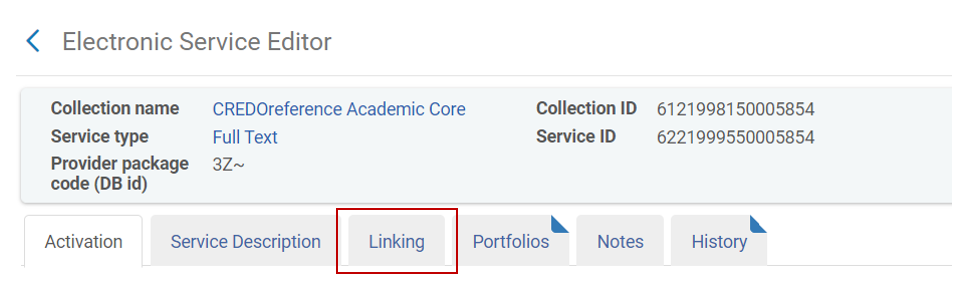
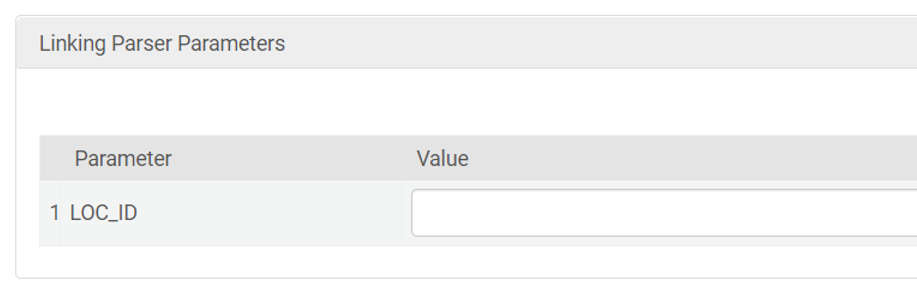
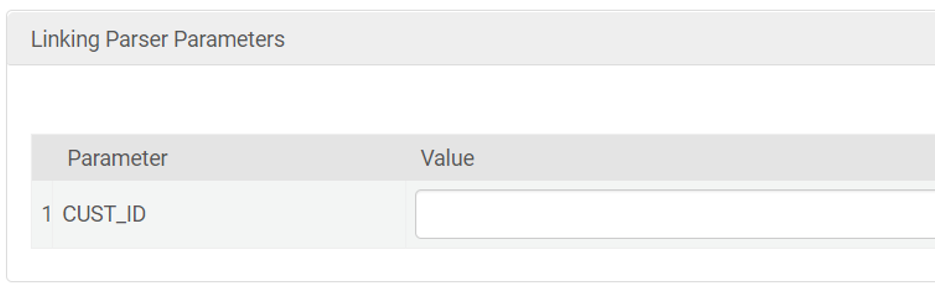
5. Scroll down to “Linking Parser Parameters”:
For Gale Products input your location id (LOC_ID) in the appropriate box.
For ProQuest Ebook Central input your Customer id (CUST_ID).
6. Click "Save" in upper right corner of screen to save the change:

Wait about 15 minutes. Log out of Primo VE and log back in. Test to see if the link will connect. If you already had a record or citation open in your browser before making the change, reload the page or redo the search in Primo VE before testing. You may also find opening a fresh web browser window in "private" or "incognito" mode will prompt a full refresh of the Primo VE search and results.